This outdoor kitchen is in Briarcliff Manor, NY and is an example of a turnkey project delivered by Ring of Fire. The customer came to us with no idea of what he wanted, let alone how to get the project executed. He just knew that he wanted an outdoor kitchen space that would be large enough to handle a very active social life.
Step #1 - Outdoor Kitchen Survey
After the initial visit to the Ring of Fire outdoor kitchen store where I met the homeowners and got a feel for their rudimentary vision, I paid a visit to the home for a survey. This is a critical part of the design process and projects can be made or broken at this stage.
The first thing we finalized was that the island would be custom built by Ring of Fire instead of going with a block solution from a mason. The logic behind this decision was that the homeowner did not want to pour a concrete pad on the patio and wanted the flexibility of being able to potentially moving the island at a future date if warranted.
Upon my visit I took note of a significant pitch on the patio which would entail adjustments to the island and / or countertop upon delivery. We also observed where the electric and water utilities were available as he did want to go through a major excavation in order to pull lines to the island.
Lastly I recorded the delivery path for both the grill components and the island itself once dropped off from truck. The island would likely be about 16ft, so it would be delivered in 2 pieces and bolted together on site. The homeowner had a relatively flat run of grass from the street to the backyard so delivery would be straightforward.
Step #2 - Outdoor Kitchen Design & Grill Selection
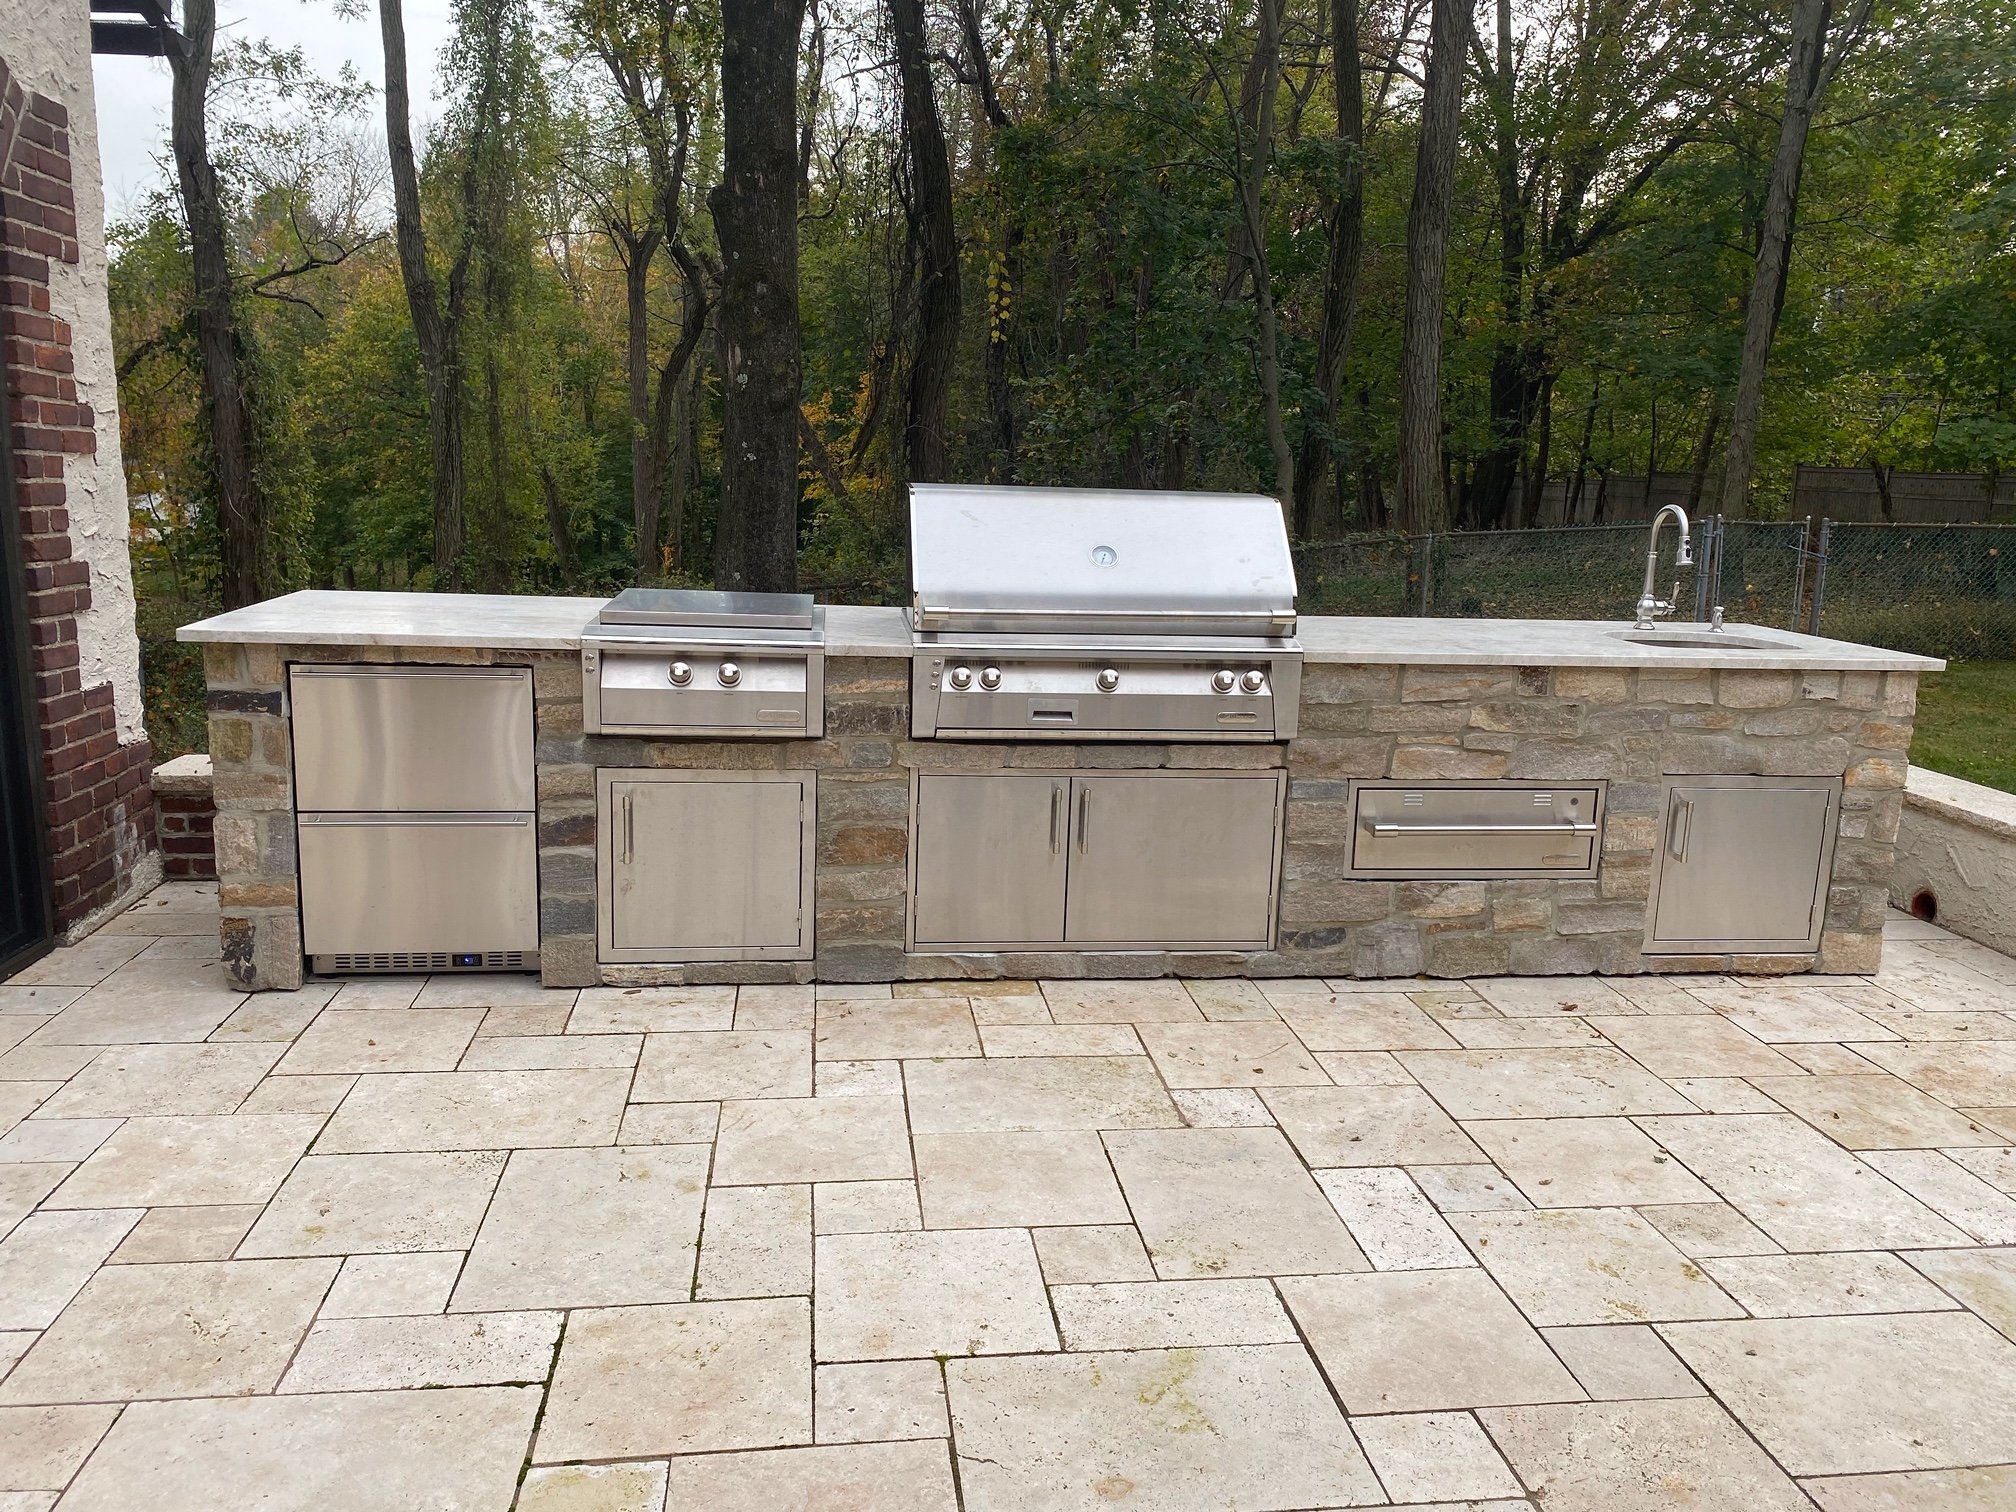
After reviewing the deep portfolio of grills at Ring of Fire, the homeowner decided to go with a 42" Alfresco ALXE model as the center point of the outdoor kitchen. Underneath the grill he wanted to have storage so he went with the Alfresco 42" low dry storage pantry. At 18" high this fits perfectly under the grill and is an ideal place to store grill tools, frequently used cooking products etc. Since it is a sealed pantry it does not provide access to the gas pipe, so we needed to install an access door to the left of it, underneath the gas-powered Alfresco VersaPower burner
so the door would provide access to gas shutoff for both the grill and the power burner.
The homeowner entertains a great deal so he decided to get an Alfresco warming drawer which was installed to the right of the grill. This would allow him to remove food from the grill and then keep warm while other dishes were completed either on the power burner or on the grill.
The last two grill components to note were "wet and cool", meaning an undermount 22" sink with access door under it for water shutoff, and on the opposite side of the island he installed Summit 24" refrigerator drawers.
If you look at the island you will notice the emphasis on functional flow...moving from left to right, the homeowner can exit the indoor kitchen in the house and place his trays of food on the ample counter space (the "landing zone")above the refrigerator drawers. From here he can load food on either the VersaPower burner or the Alfresco grill. Then when finished there is ample room for plating between the grill and sink. And speaking of the sink it is placed away from the cooking zone in what we will call the "clean-up zone".
Step #3 - Decision on Island Design
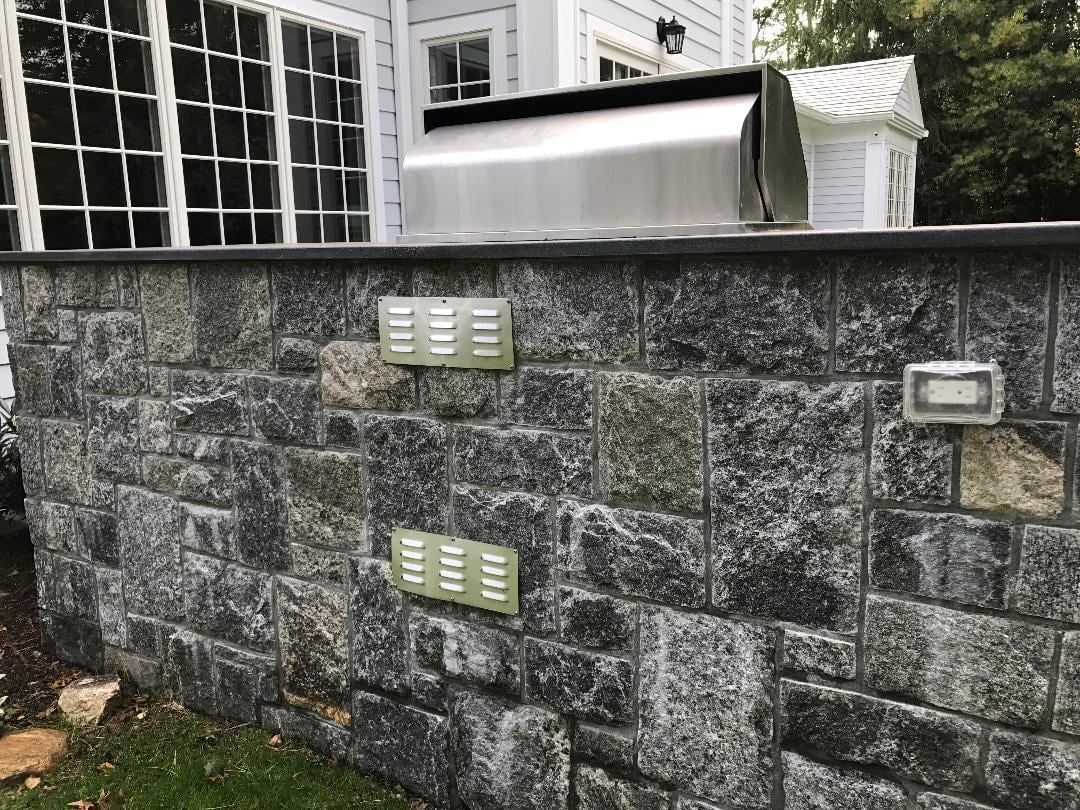
As noted earlier the homeowner went with a Ring of Fire ready to finish island constructed of cement board and welded aluminum. The island's base is waterproofed in order to handle the Northeast winter where there will be a build up of snow around it. For the countertop and veneer he went to a local stone fabricator who attempted to best match the patio floor. The veneer is a thin stone done in mosaic style.
Problems or Pitfalls?
Delivery was smooth. Installation had a few hiccups as the mason wanted to have a few more bars installed for further reinforcement. This was unnecessary due to the integrity of the island but we sent a few additional beams in 2 days to appease his request.
What Would I Change on This Outdoor Kitchen?
Once a project is finished I can usually nitpick a few things that I would alter. In hindsight, I can't find anything about this space that I would change. The grill components are best in class, the island has great design aesthetics that play off his home, and the functional layout of the island is seeped in logic and flow. Maybe I would have considered going with a better refrigerator drawer system but I can appreciate finding pockets in the project to conserve some cash.